You have presented your project on the forum, and have already received feedback from other Open Space Makers members, and maybe even formed a small team? Then you are ready to launch your project on the platform!
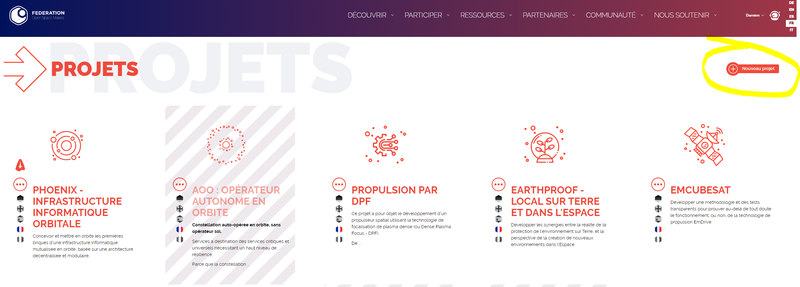
- To get started, go to the list of projects in Participate > Projects
- Select the "New project" button in the top right corner of the project list.
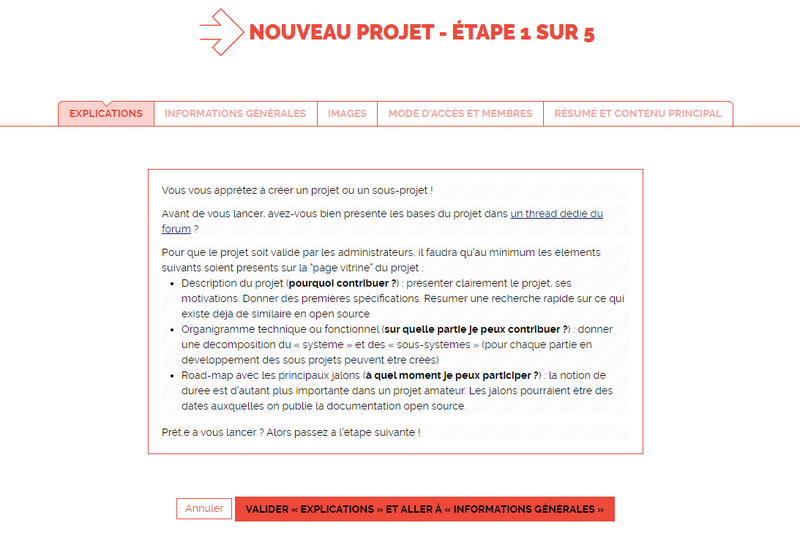
- You are then reminded of the main lines to follow before starting to create a project
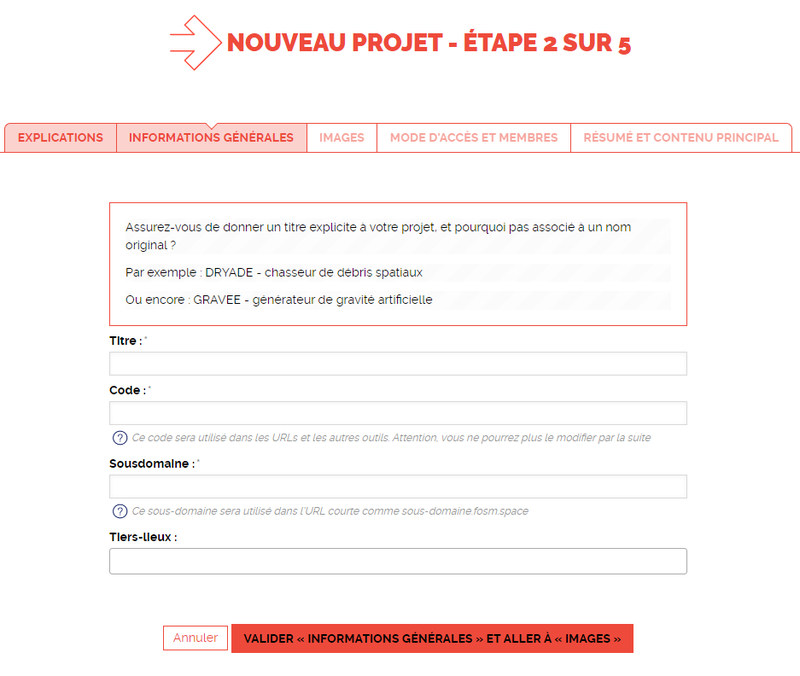
- The next step is to give your project a name. You can also add a "sub-domain" that will allow you to access the project space with a short url, such as project-name.fosm.space. You can also add one or more Third Places (fablabs) where the project is carried out, if they have been created beforehand in the list of locations.
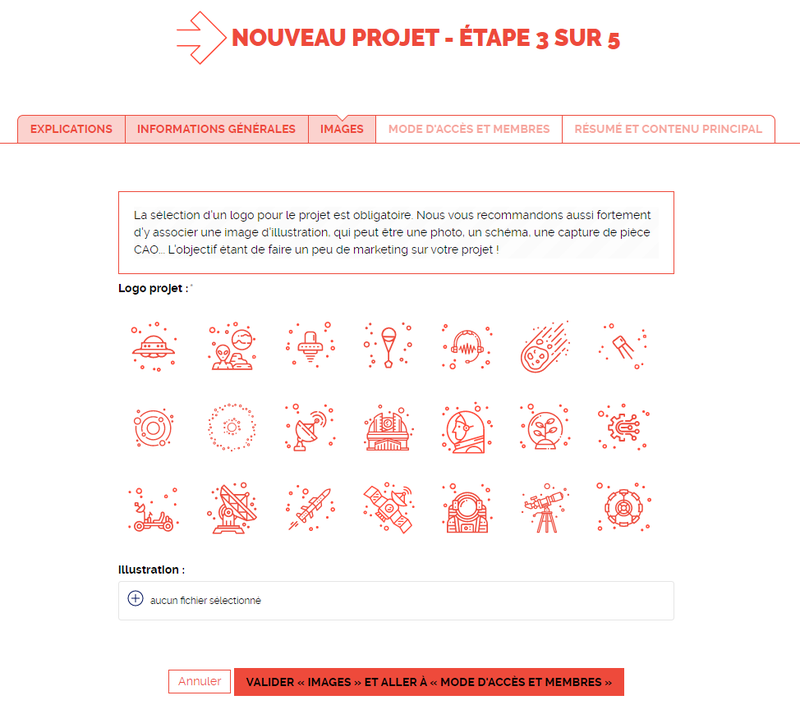
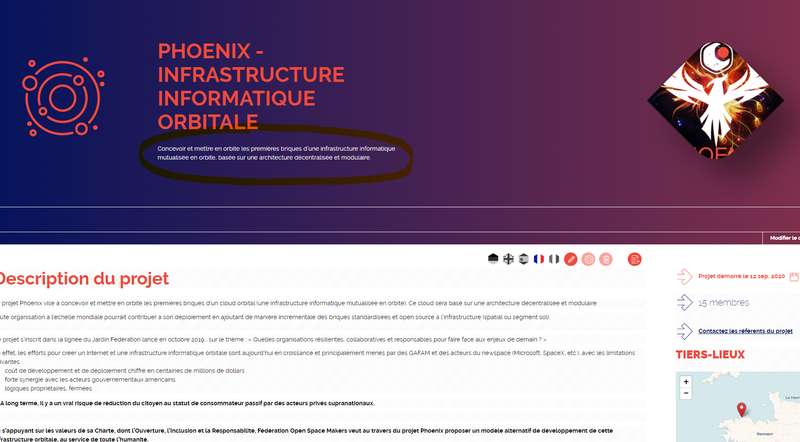
- You will then be asked to select a logo for the project from an existing list, it will appear in the list of projects. And to add an image for illustration, which will appear in the header of the showcase page of your project.
- Then select the visibility of the project, and the first members and referents of the project. By default, you (creator) are indicated both as member and referent of the project.
- Finish creating the project by adding a brief summary of the project. Limit yourself to a few sentences, this is what will appear under the project title in the window banner. You will have the opportunity to describe it in detail in the next step on the showcase page.
-
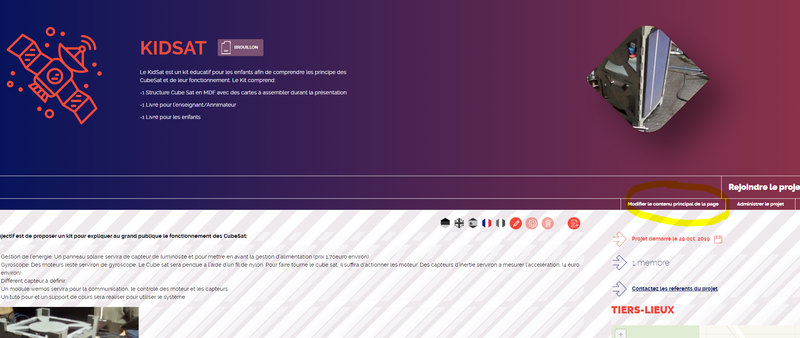
Once you click on "Create Project" at the bottom of the page, the project appears in "draft" status (content crossed out by grey slash lines), you can access it to modify the content of the showcase page, as well as all the parameters you entered in the previous steps.
-
Be sure to complete the showcase page with all the information requested for the pre-project stage, using the button at the top right of the page, in the banner :
- Once you are satisfied with the content, you can "Submit Project" through the dedicated button on the banner. It will then be reviewed by the Project Circle team to ensure that it meets the publication criteria. The Circle will validate the project immediately, or it may come back to you asking for modifications if some points are missing.
- Once the project has been validated by the Project Circle, it will go into published status, and all the tools you have chosen to activate in the administration will be configured and available to the project members.